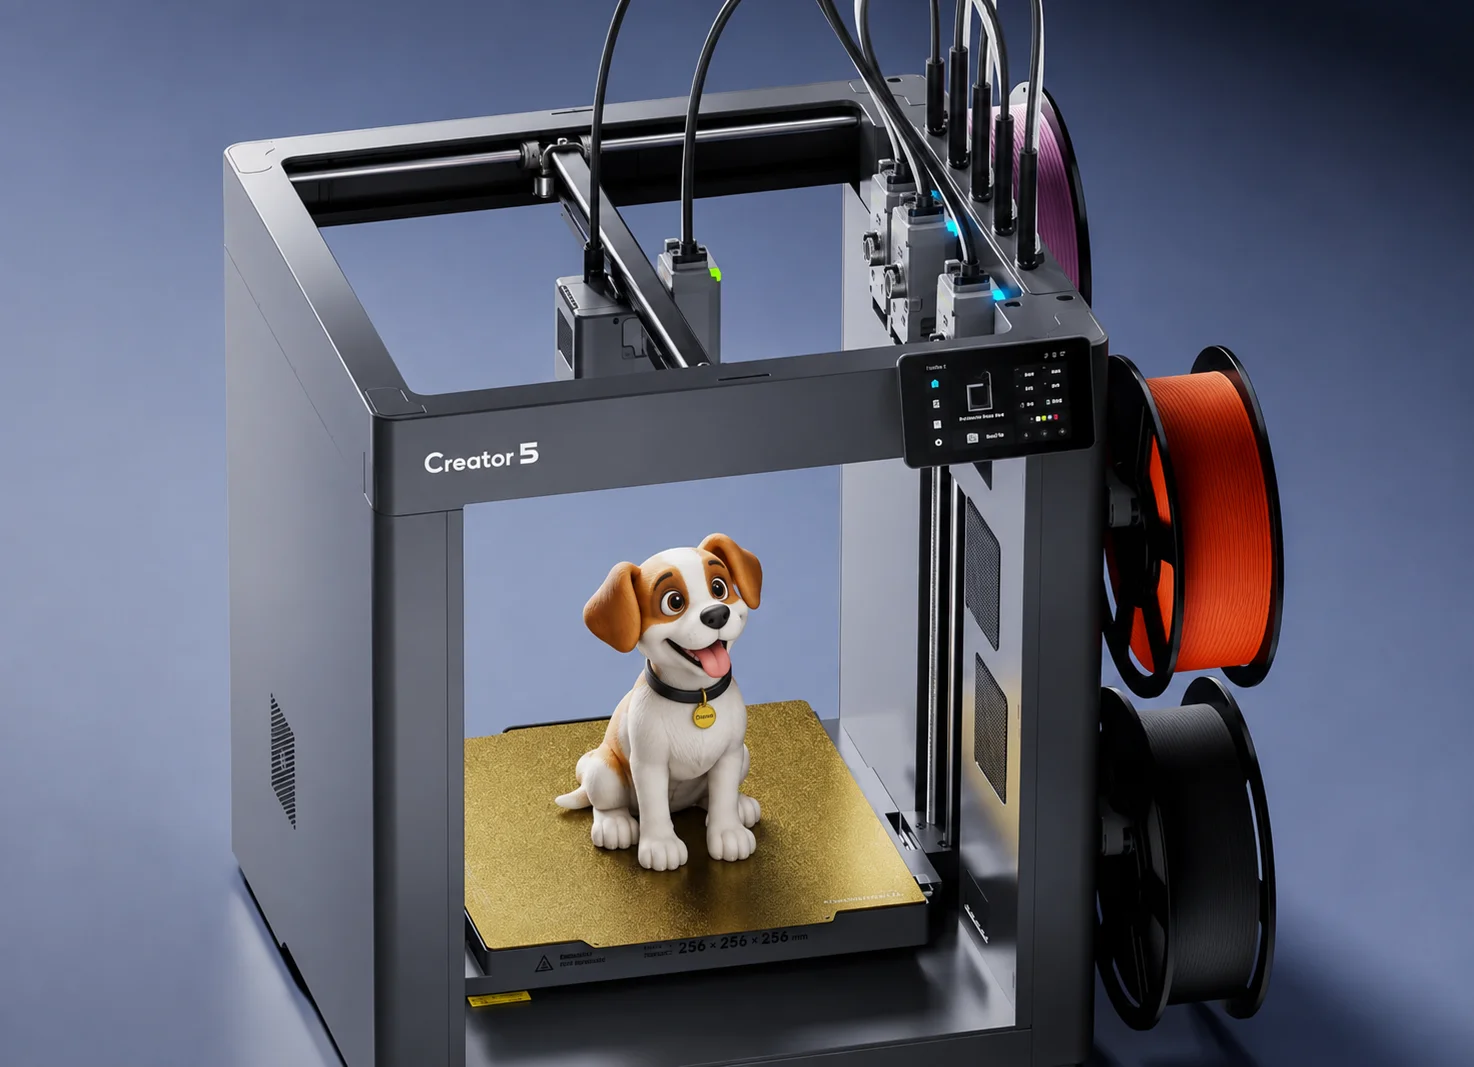
Learning how to make 3D models for printing is easier than it may seem. You do not need to be an expert designer to create your first printable object. With the right 3D modeling software and a basic understanding of shapes, measurements, and printer requirements, you can turn an idea into a physical object.
3D printing allows you to create useful items, replacement parts, decorations, tools, and many other objects. The most important part is creating a model that your printer can understand and produce correctly.
Choose the Right 3D Modeling Software
The first step is choosing software for creating your model. Beginners should start with a program that has simple tools and an easy interface.
When choosing software, consider what you want to design. Simple objects can be created using basic shapes, while detailed models may require more advanced modeling tools.
Look for features such as:
- Basic geometric shapes
- Measurement tools
- Object scaling
- Hole and cut tools
- Export options
- Simple editing controls
You can start with simple designs and learn more advanced features as your skills improve.
Start With a Simple Idea
If you are new to 3D modeling, do not begin with a complicated character or mechanical machine. Start with something simple.
A small box, phone stand, key holder, or basic storage container can be a good first project.
Think about the object from different angles before creating it. Consider its length, width, height, and how the different parts will fit together.
Having a clear idea before modeling can save time later.
Create the Basic Shape
Most 3D models begin with simple shapes.
You can use cubes, cylinders, spheres, and other basic objects to create the main structure. These shapes can then be resized, moved, combined, or modified.
For example, if you want to create a small box, start with a rectangular shape. You can then add another shape to create an opening.
The key is to build the model step by step instead of trying to create everything at once.
Use Accurate Measurements

Measurements are extremely important when creating a model for 3D printing.
A model may look correct on the screen but fail to fit if the dimensions are wrong.
Use a consistent measurement unit, such as millimeters, throughout your project.
Before designing a replacement part or object that needs to fit another item, measure the original part carefully.
Pay attention to:
- Length
- Width
- Height
- Hole diameter
- Wall thickness
- Distance between parts
Accurate measurements can make the difference between a successful print and a useless one.
Make the Model Strong Enough
A model needs to be designed with real-world use in mind.
Very thin walls may break during printing or normal use. Small connection points can also become weak if they do not have enough material.
When designing an object, think about where pressure will be applied.
For example, a phone stand needs stronger support around its base because it carries the weight of the phone.
The exact wall thickness depends on the material, printer, and purpose of the object.
Check the Model Before Exporting
Before sending your model to a slicer, inspect it carefully.
Make sure there are no unnecessary objects hidden inside the design. Check that the model is a complete solid object and that separate parts are positioned correctly.
Look for areas where surfaces overlap or where holes may not have been created properly.
A clean model usually gives the slicer a much easier job.
Export the Model for 3D Printing
After finishing your design, export it in a format supported by your 3D printing workflow.
STL is a common format for 3D printing, while other formats may also be supported by modern software.
When exporting, check the model scale carefully.
A common mistake is creating a model in one measurement system and opening it in another. This can make the object appear much larger or smaller than expected.
Open the Model in a Slicer
A 3D model normally needs to go through slicing software before printing.
The slicer converts your 3D model into instructions that the printer can follow.
Here you can choose settings such as:
- Layer height
- Infill percentage
- Print speed
- Support structures
- Bed adhesion
- Printing temperature
The correct settings depend on your printer and filament.
Read also:-Radeon RX 9070 XT 3DMark Benchmarks: 5 Powerful Results for Complete Performance
Add Supports When Necessary
Some models contain parts that extend outward without enough material underneath them. These areas may need support structures.
Supports temporarily hold these sections during printing.
For example, an object with a large overhanging section may require support to prevent the plastic from falling or becoming uneven.
However, using too many supports can increase printing time and material usage.
Try to design the model so that difficult overhangs are reduced whenever possible.
Check Wall Thickness and Holes
Small holes and thin sections can be difficult to print accurately.
If you are designing a part that needs screws, pins, or other objects to fit inside it, leave enough clearance.
Do not assume that a hole will print exactly to the dimensions shown in your modeling software. Printer accuracy and material shrinkage can affect the final result.
For parts that need to fit together, printing a small test piece first can save material and time.
Preview the Print Before Starting
Most slicers provide a preview of the sliced model.
Use this preview before starting the printer.
Look through the layers and check whether the model is being sliced correctly. Make sure important sections are present and that support structures appear where necessary.
This simple check can help you catch problems before wasting filament.
Test and Improve Your Model
Your first print does not always need to be perfect.
If the object is too tight, too loose, too weak, or incorrectly sized, go back to the original model and make adjustments.
3D printing is often a process of testing and improving.
Keep notes about the measurements and printer settings that work well. Over time, you will become better at predicting how your digital model will behave when it becomes a physical object.
Common Mistakes to Avoid
Beginners often make a few simple mistakes.
One mistake is ignoring measurements. Another is creating walls that are too thin. Some users also forget to check the model before exporting it.
Other common problems include:
- Incorrect model scale
- Unsupported overhangs
- Tiny details that cannot print properly
- Poor bed adhesion
- Incorrect slicer settings
- Parts designed without enough clearance
Checking these areas before printing can greatly improve your results.
Conclusion
Learning how to make 3D models for printing is a practical skill that improves with experience. Start with simple objects, use accurate measurements, and build your design from basic shapes.
Before printing, inspect the model, export it correctly, and use a slicer to prepare the print. Pay attention to wall thickness, supports, holes, scale, and overall strength.
Do not worry if your first model is not perfect. Each test print gives you useful information that can help you create better models in the future.
FAQ
How do I make a 3D model for printing?
Choose 3D modeling software, create the object using basic shapes, check its measurements, and export the finished model in a suitable 3D printing format.
What is the easiest way to create a 3D printable model?
Starting with simple shapes is one of the easiest methods. Create a basic object first and gradually add more details.
How do I know if my 3D model is printable?
Check the model for missing surfaces, very thin walls, unsupported sections, incorrect dimensions, and other geometry problems before slicing it.
How do I prepare a 3D model for printing?
Inspect the model, confirm its scale, export it in a compatible format, and open it in slicing software to configure the print.
How do I make strong 3D printed models?
Use suitable wall thickness, enough material around connection points, and an appropriate infill setting based on the object’s intended use.
How do I create holes for screws in a 3D model?
Create the hole using accurate measurements and leave suitable clearance so the screw can fit after printing.
How do I fix a 3D model that does not print correctly?
Check the original model, measurements, wall thickness, support requirements, orientation, and slicer settings. Make changes and test-print the model again.