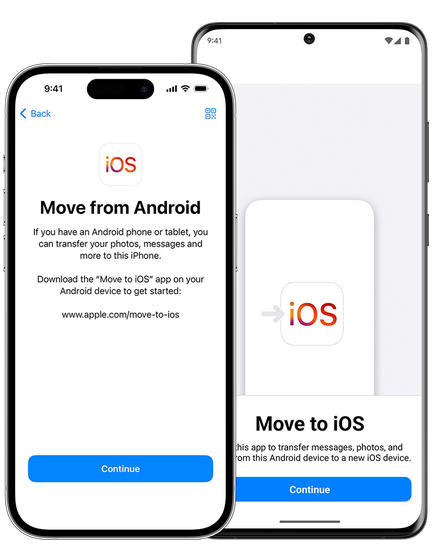
Transferring photos from Android to iPhone can often seem like a daunting task for those unfamiliar with the process. However, it doesn’t need to be complicated. In this guide, we will provide you with clear instructions on how to transfer photos from Android to iPhone using a simple and free method. We’ll be using Google Drive, a file-sharing and cloud storage platform, to facilitate this transfer.
Google Drive is an excellent tool for transferring files between different devices because it allows you to store files in the cloud and access them from anywhere, as long as you’re connected to the internet. Let’s break down the process so you can easily move your photos from your Android phone to your new iPhone without any trouble.
Table of Contents
ToggleStep 1: Install Google Drive on Both Devices
The first step in how to transfer photos from Android to iPhone is to make sure that you have Google Drive installed on both your Android and iPhone devices.
- On your Android device, Google Drive is most likely pre-installed. If not, you can download it from the Google Play Store.
- On your iPhone, open the App Store, search for Google Drive, and download it.
Once both apps are installed, proceed with the next steps.
Step 2: Upload Photos from Android to Google Drive
Now that you have Google Drive installed on both devices, it’s time to upload the photos from your Android device to Google Drive.
- Open Google Drive on your Android phone.
- At the bottom right, tap the “+” button.
- Select “Folder” to create a new folder. Name it something like “Android Photos” for easy reference.
- Once the folder is created, tap on it to open it.
- Tap the “+” button again, and this time choose “Upload”.
- Select “Gallery” from the options, and choose the photos you want to upload. You can select multiple photos at once.
- Tap “Done” to begin the upload process.
The upload time will depend on the number of photos and your internet connection speed. Once the upload is complete, the photos are now stored in your Google Drive.

Step 3: Access Google Drive on Your iPhone
Now that your photos are safely uploaded to Google Drive, it’s time to access them on your iPhone.
- Open the Google Drive app on your iPhone.
- Make sure you are logged in with the same Google account that you used on your Android phone.
- Navigate to the folder you created earlier (for example, “Android Photos”).
- You may need to refresh the page to see the newly uploaded photos.
Step 4: Download Photos to iPhone
Once the photos appear in your Google Drive on your iPhone, the next step is to download them to your device.
- Tap and hold on to a photo to select it.
- To select multiple photos, tap on each photo you want to download.
- Once you’ve selected all the photos you want, tap the three dots (menu) in the top right corner.
- Select “Download” from the menu.
The photos will start downloading to your iPhone. Depending on the number of photos, this may take a few moments.

Step 5: Check Your Photos
Once the download is complete, open the Photos app on your iPhone. You should now see all the photos you transferred from your Android device. They will appear alongside your other photos, and you can view, edit, or share them just like any other picture on your iPhone.
Also, read this post to learn how to transfer contacts from Android to iPhone easily.
Conclusion
By following these steps, you can easily learn how to transfer photos from Android to iPhone. The method using Google Drive is straightforward, reliable, and free. All you need is a stable internet connection and a Google account to start transferring your photos in just a few minutes. Whether you’re switching to a new phone or simply moving a few pictures, this process ensures your memories stay safe and accessible across devices.


